Speed-Sharer for promoting from Zazzle Community Boards
Promoting from the Zazzle Community has never been easier!
Use the forward and back buttons to get to each product / collection you want to share and then hit the buttons for sharing.
Note that any products shared in the Community Boards that use shortened links are excluded from this speed sharer. Also, products / collections have to have been shared with the Zazzle-given html code you get via the product / collection page link button or the Nifty Speed-Sharer for posting to Zazzle Community Boards available in the Nifty Promo Control Panel.
There's also a handy feature for easily opening a new tab / page on a Board topic. Either:
- click it from within the board topics lister
or, if it's not shown there because Zazzle limits it to 100 topics (most recent first): - put in the topic (message) id to display products / collections from that topic and you'll be given a link to it under the product / collection displayer
- If all else fails, use Zazzle's community search page - you'll find its link in the board topics lister
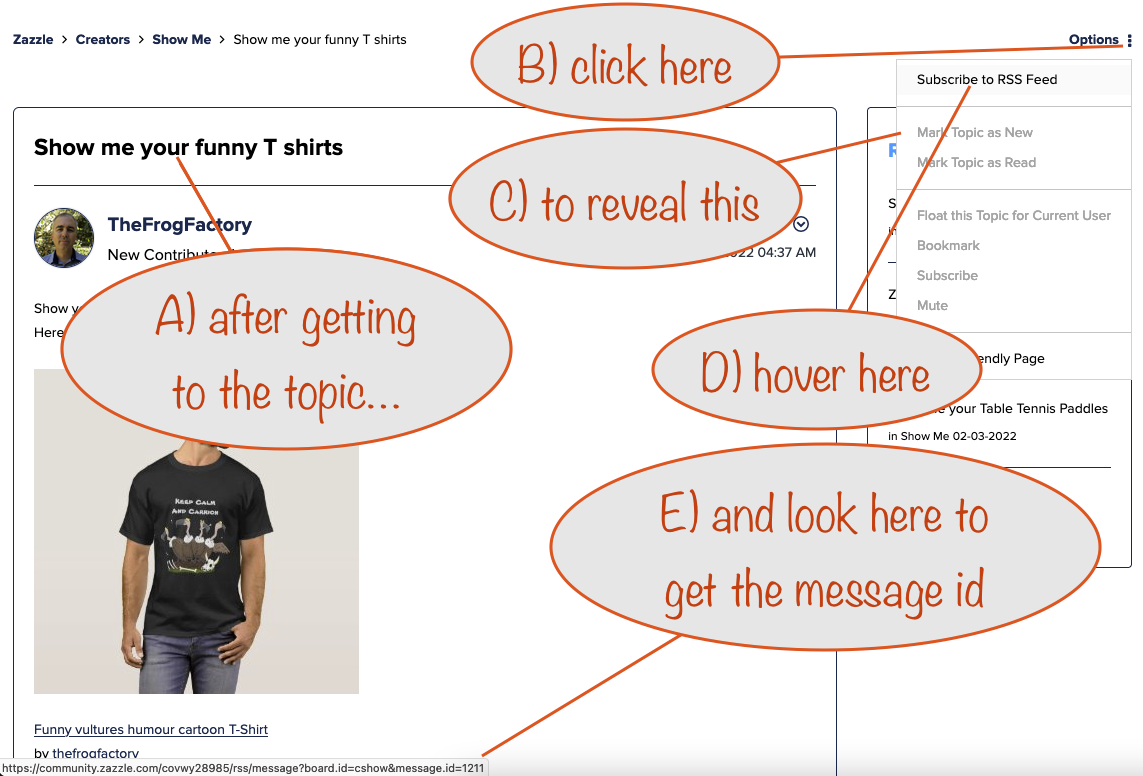
Of course, to do 2, you need to know the topic (message) id...
Terminology
Behind the scenes Zazzle sometimes uses the term "message" where they really mean board topic. Where it helps, we put it in brackets after the word "topic". So a "message id" is really the (behind-the-scenes) id of a board topic.
When you set the image frame mode on, you can choose to use your own image frame instead of the automatically generated ones.
To use your own:
- put in a link to your image frame in the box revealed when you check this option
- it has to be a png image, 600px wide X 900px tall
- it has to be hosted somewhere that's publicly available while you're pinning here (imgbb.com is a good place to use)
- by default the product image will be placed in the middle of your image frame - choose your preference with the radio buttons you'll see
- if you switch off the option to use your own image frame, you'll go back to using automatically generated image frames again
More about making your own image frames:
- they must be 600px wide and ideally 900px tall. That's because the product image is sized to work with that width and Pinterest recommends a proportion of 6x9
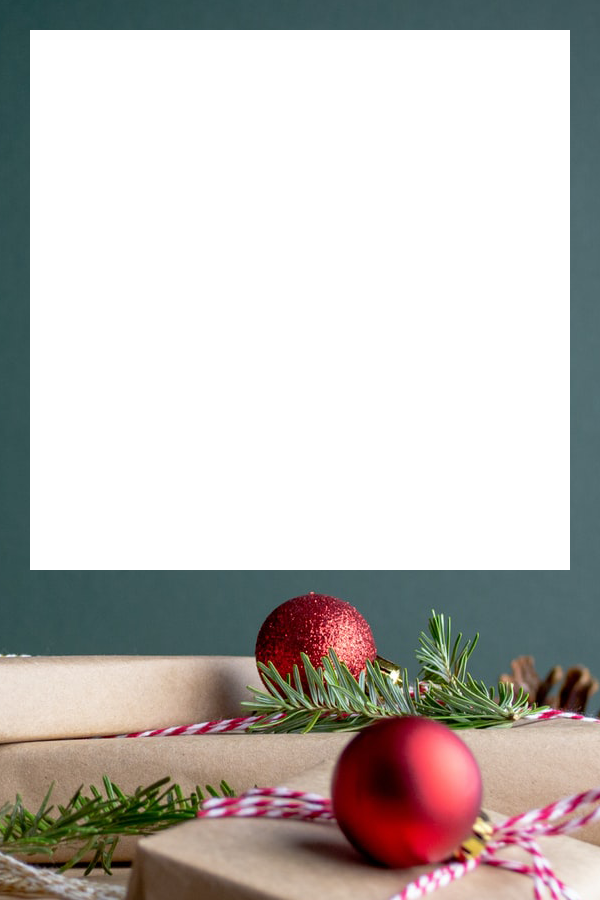
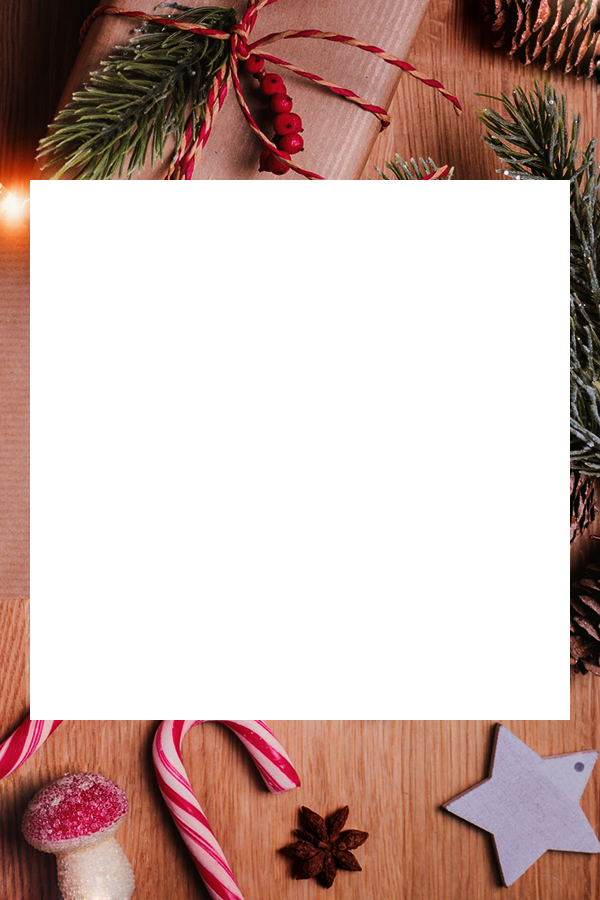
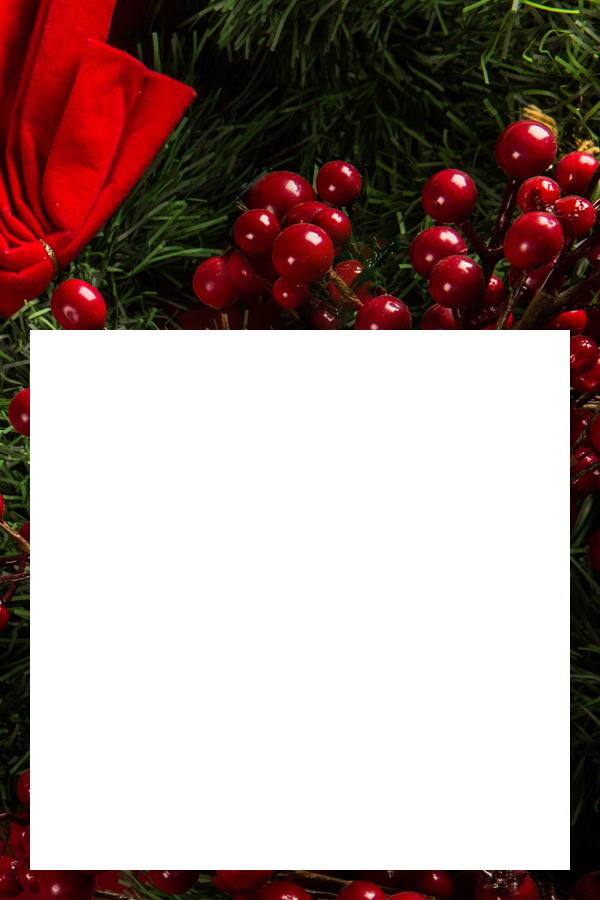
- the product image is always sized at 540 x 540px so will leave a 30px margin on each side
- to give you maximum flexibility on the frames you design, the product image is placed on a layer underneath your image frame, so you'll need to make a transparent hole to let the product image show through.
- using this approach means you can get creative and let some parts of your image frame design overlap the area reserved for the product image
- make sure you don't get carried away - don't let your overlaps obscure important parts of a product image!
- by default the product image will be placed in the middle of your image frame - choose your placement preference with the radio buttons you'll see
- if you place the image at the bottom, it will leave a 30px bottom margin, same for the top margin when you place it there
- For a 600px X 900px image frame, the product image's top left corner will be 30px in from the left side and for the three placement options:
- Top: 30px down from the top
- Middle: 900/2 - 540/2 => 180px down from the top
- Bottom: 900 - 540 - 30px => 330px down from the top
- So just knock out a transparent hole 540X540px with its top left corner placed at the coordinates above, depending on whether you want the product image to be placed at the top, middle or bottom of your image frame.
- You can drag any of these 600X900px images to your desktop to give you a starting point for your own image frames. The transparent holes are perfectly sized and positioned


If you switch off the image frame mode, then the normal image of the products / collections will be used once more and the Facebook and Twitter buttons will become available again.
Your referral id and associate id are the same thing. One has to be provided, so until you give yours, ours will always be used. If you've got an up-to-date subscription, yours will be used on all links.
Without a subscription, as long as you put in your referral id, half the links will use it and the other half, ours - as chosen by your computer / mobile / tablet flipping a virtual coin.
If you have a Nifty Zazzle Promoter Program subscription, links for your products / collections will be clean, with all others using your referral id (and tracking code, see below).
If you want to restrict the products / collections to those from a particular store, put in the store id - that's the one in a store link.
For example, in the following store link, the store id is hightonridley
https://www.zazzle.com/store/hightonridley
The main purpose of putting links "out there" is so that people can follow them and buy what you're promoting. If you're half serious about it, you need to know whereabout and what types of thing works best.
And that's what tracking codes are for. You see, when someone follows one of your links with a tracking code in it, and you end up being credited for an arising sale, Zazzle will tell you what the tracking code was in the link used.
The buttons below will put fbk_, twtr_ or pntrst_ on the front of the tracking code you give and will add today's date on the end.
You can use pretty much anything for your own tracking codes - letters and underscores only according to Zazzle documentation. I'm not sure what the character limit is but I've sometimes used 20 or more.
The default one suggested here is nzcb - short for Nifty Zazzle Community Board but you'll likely put in a much better one, one reflecting the type of product or the theme.
How does Zazzle tell you the tracking code in the link used when you're successful? They tell you on the line in your Referral History Report which records the sale.
If you have a Nifty Zazzle Promoter Program subscription, links for your products / collections will be clean, with all others using your (referral id and) the tracking code you give here.
This is really only useful here for listing topics in the Show Me and Affiliate Requests boards. We've included the other boards because it's also a handy way of checking for topics you haven't seen in them yet.
When you choose a board you'll see a list of all topics within it displayed in the scrollable area (Zazzle limits this to a maximum of 100). Each topic title is shown, together with its "message (topic) id". You can click a topic to open it in a new tab / window.
If you set a date filter, then only topics created since that date will be shown.
Note that only topic (message) ids from the Show Me or Affiliate Requests boards can be used in the sharer section below.
Today since yesterday last 7 days this month since last month all
click to open the ShowMe board in a new tab / window so you can get the message id
To get the id of the message (topic) you want to promote from, follow the instructions in the image below (click it to open in a new tab / window and see larger)
Once you've got it, put it in the box above.
set image frame mode
When you set the image frame mode on, a frame will be added around the product image, changing it from square to a Pinterest-recommended aspect ratio (600x900). If it's a collection image then it's slightly fatter (668x900).
Image frames work only on Pinterest so the other sharing buttons are hidden as a reminder.
To give some variety to your framed product pins, the following applies:
- The color of the frame background is set to the average color of the product image, so it looks good with it
- The text at the top and bottom is chosen at random from a predefined set
- The designer store is included in the text at the bottom
- The font used for the text is chosen at random from a pre-defined list
If you switch off the image frame mode, then the normal image of the products / collections will be used once more and the Facebook and Twitter buttons will become available again.
characters (not used for Pinterest)
edit as you want and then copy ready for pasting into a Tweet or Facebook share
(don't see a sharing window? It might be hidden behind this one)
The above text is the product's title as supplied by the designer (with 'Ad:' added at the front - remove if you like).
Otherwise you can copy ready for pasting into your Facebook shares.
text pad, if you need one:
Store your promoting notes here
Use these notes to keep track of the message ids you've promoted. When you click save, the date is added at the front so you always know when you did what.
It's a good idea to include the title of the message as well as its id so you can see at a glance where you are with your promoting.
If you need to, you can edit an existing note (but not the date it was created). When you've made your edits, click Update to apply your changes. The edited date is added at the end of the note.
The notes are stored locally in your browser and are 'persistent' so they're always available, even after you shut down and restart things. They're specific to the browser you're using at the time, so if you use different browsers, each will have its own notes.
It's a good idea not to put any personal info in them, just in case.
If you want to know more, read about local storage on this Wikipedia page (opens in a new tab / window).
Today Yesterday 1 week 2 weeks 30 days 60 days all time

