Creative product grid use – how to improve your posts

Here’s an example post that demonstrates various ways that NiftyGridZPro can be used creatively to improve your blog posts. You’re not restricted to plain old grids between some paragraphs, not when you get a bit creative!

We’ve used wedding-themed products – pretend that instead of all the “how it’s done” stuff, there’s a gorgeously written article all about weddings, illustrated with occasional products.

Embedded on the right in a paragraph

Update Oct 11 2017: Now catered for using new shortcode option: paragraph_embed

Something for the Bachelorette?

Here’s what we did to get this paragraph looking like this. In text mode we enclosed the shortcode for the grid in a div. Still in text mode, we gave that div an inline style that floats it to the right of the text that follows.
Here’s the enclosing div and shortcode we used:   <div style="float: right;">[niftygridzpro title_font_size="12px" cell_max_width="200px" cell_border_color="#aaaaaa" description_font_size="12px" description_length="0" search_term="bachelorette party" page_size="1" page_number="1" product_background_color="#ffffff" tracking_code="ngrdz_blg_eg_layts"]<div style="font-size:small;text-align:center;margin-top:-30px;">Something for the Bachelorette?</div></div>

Embedded on the left

Update Oct 11 2017: Now catered for using new shortcode option: paragraph_embed

In the following paragraph, a page_size=4 grid has been used. Instead of it being floated to the right, this time it’s floated to the left. More than that, the inline style sets its max width to half that available.

One thing to remember, make sure that there’s enough width for those viewing on mobile! It’s easy to overlook but remember that 50% of your visitors, more as time goes on, are going to be using mobile devices. Ok, here’s the div-wrapped shortcode: <div style="float: left;max-width: 50%;">[niftygridzpro title_font_size = "9px" title_alignment = "center" cell_max_width = "110px" cell_border_color = "#aaaaaa" cell_background_color = "#ffffff" cell_font_color = "#333333" description_font_size = "12px" description_length = "0" include_product_names_in_titles = 0 use_message_slot = 0 store_or_collection = "" search_term = "chevron wedding" department_id = "252145500430512226" page_size = "4" page_number = "1" product_background_color = "#ffffff" tracking_code = "ngrdz_blg_eg_layts"]</div>

Creative, or wot?!

So make with the divs, don’t be afraid to go small and when you do, mess around with the details that are shown for each product. We’ll leave it as an exercise for you to work out how to show no details at all 🙂

Tip

If you’re going to use single-product grids somewhere that space is tight, make sure you have a generic fallback grid the same size mentioned in your shortcode.

That way your layout will be preserved should Zazzle go down. The same goes for any layout where the number of products matters.
My newest business card designs

These are my most recent business card designs on Zazzle, pulled live right now from my store. Each has placeholder text for you to personalize to make it your own.
Nothing could be easier, just click the one you like and put your details into the boxes provided.


This post is the one used in the following video about making, uploading and using fallback files.

Personalized designs by NiftyGridZPro

NiftyGridZPro can now personalize and display the updated product images with this new feature.

See and try for yourself…

To see a storefront page using the option, have a look at: Girl About Town and try your own initials or short name.

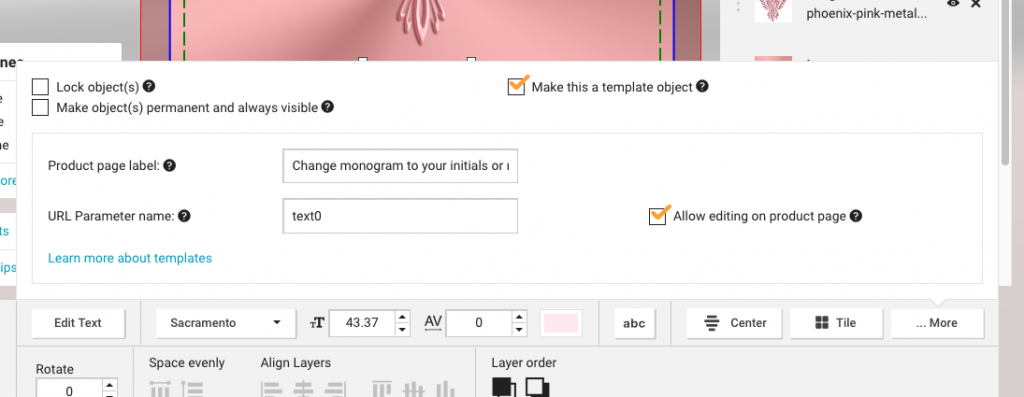
With NiftyGridZPro you’re able to give text for up to three template text items on the products shown. By ‘template text items’ we mean the ones put on the product when it was designed at Zazzle. Here’s a relevent screenshot from Zazzle:

screenshot of product design: template text item
Product design: template text item

How it works…

To change a template text item to what you want, you set a pair of options. The first in the pair is for the “Url Parameter name” (see above) and the second is for the value you want it to have.

Example:
ztmpl_url_text_parameter_0_name="text0"  ztmpl_url_text_parameter_0_value="Sally"
..will change the text displayed on your product (for template text item “text0”) to “Sally”

There are a total of three pairs of these shortcode options so you can work with up to 3 template text items:

ztmpl_url_text_parameter_0_name and ztmpl_url_text_parameter_0_value
ztmpl_url_text_parameter_1_name and ztmpl_url_text_parameter_1_value
ztmpl_url_text_parameter_2_name and ztmpl_url_text_parameter_2_value

In practice…

To let a visitor type their own requires storefront mode, which means it can’t be done in posts or widgets – only pages.

However, a good time to use it in posts is if you need to showcase your designs to a potential / interested client. You can put relevent designs into a collection and have them displayed in a grid to your client, with their names / monogram / whatever already in place (up to 3 of them, anyway).

The only thing you need to ensure is that all designs use the same “URL Parameter name” – as long as they do, you’re in business!

The really cool thing about this is that when your visitor clicks one of the products, when they get to it on Zazzle, the template text there matches what was shown on your product grid. One less step to get in the way of a purchase!

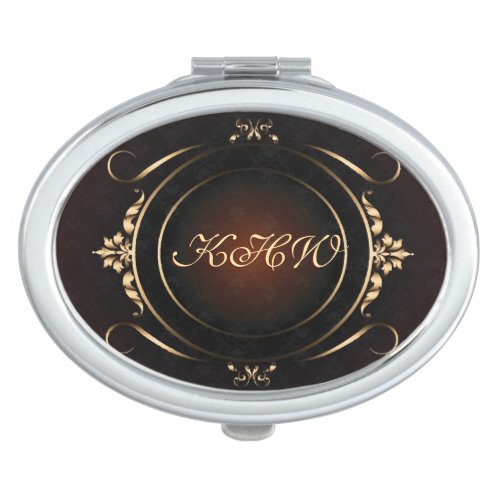
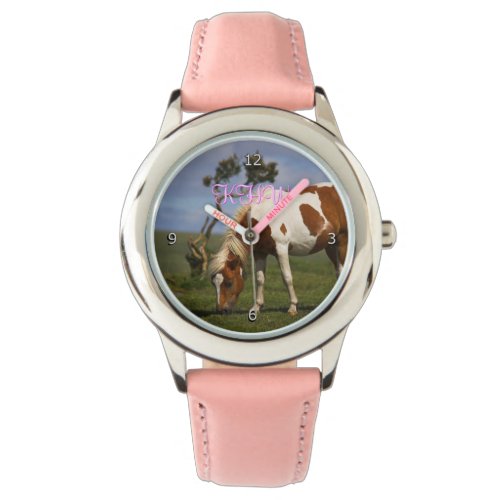
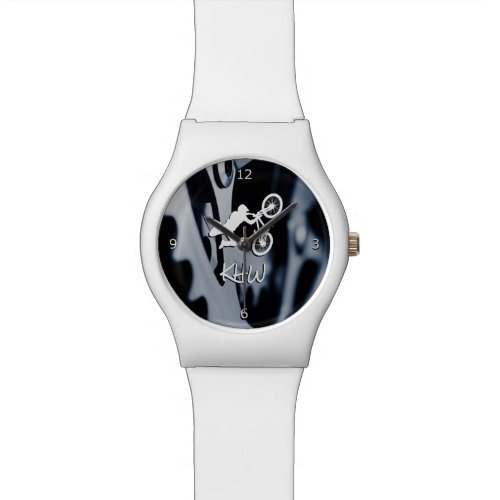
Here’s the same grid as the storefront example linked above, but this time in a post, with the text on the products set to KHW:

Other ideas

👍 Speaking about wedding invites to a client? Change the 2 or 3 most important template text items using this technique so they can see what their details look like on a whole range of stationery etc.

👍 Suggesting a range of business card designs for a big-spending client? Do the same and your bank balance will thank you.

✅ Such a personal experience will delight your clients!