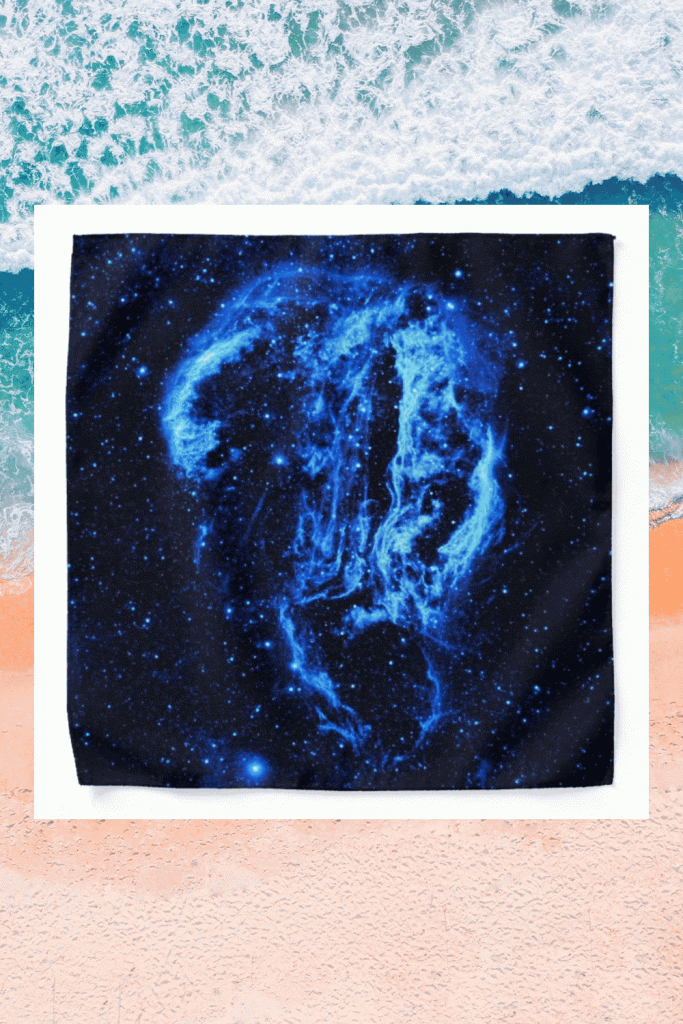
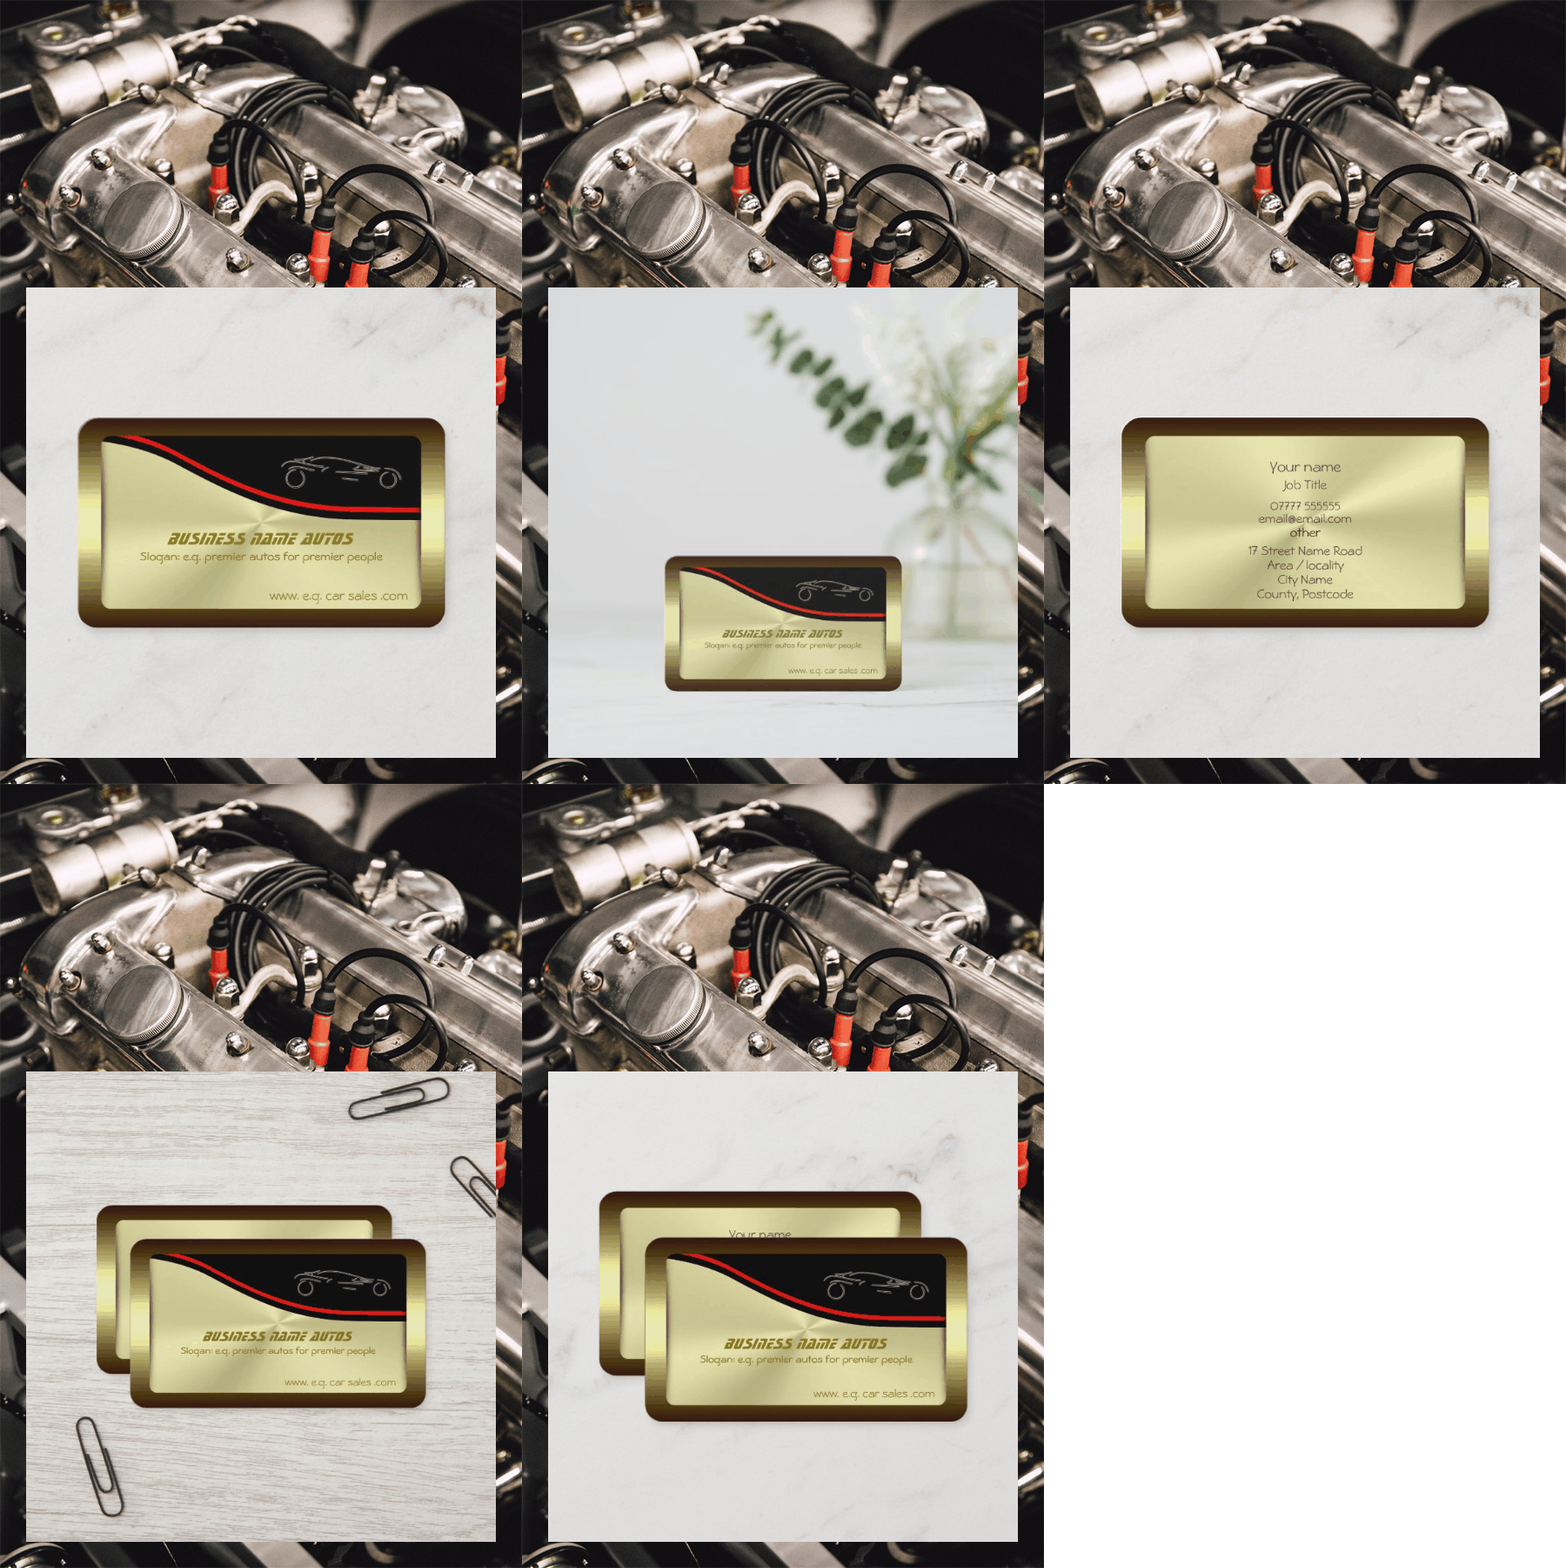
If you just want to get the latest versions of the bookmarklets, see how to use them down below.
Note that your Zazzle referral id will be automatically used as long as you’re logged in to Zazzle when you click your bookmarklet. If you’re in the Zazzle Promoter Program, there’s a checkbox for you to use to get clean links. See below.
NiftyPVA
It can be a right royal pain to show the various front, back and in-situ product views of your fabulous Zazzle designs.
Until now…
The Nifty Product Views Animator is a cinch to use and automatically grabs the various views of a product from its page on Zazzle.
NiftyCPA
A great way to promote a collection.
View the collection and click the bookmarklet. Up to a maximum of 40 products from the collection will have their default images put in the animator. You then choose which ones you want in your animation to best show off the collection.

About your animation
You provide a background image at the right size for the social media where you intend to share it and then decide on which of the product/ in-situ views you want as part of your animation. (See later for guidance on designing it.)
A couple of clicks later and the animated gif is made for you ready to pin on Pinterest. A copy is also downloaded to your computer ready for you to upload to your chosen social media. Why not upload it as media to your product / collection as well?
We’ll get on to how to use it a little later.
First, where can you use it and what are the recommended sizes?
Most common social media
| Social Media | Dimensions px | Type | Notes |
| Pinterest Pins | 1000×1500 | gif | Supports links |
| Pinterest Story Pins | 1080×1920 | gif | Supports links |
| 1280×1080 | gif | Supports links | |
| Facebook Post | 800×1200 or 1000×1500 | gif | Supports links |
| Facebook Story | 1080×1920 | gif | Supports links |
| Instagram Feed | 1080×1350 | gif | Convert gif to mp4 or mov |
| Instagram Story | 1080×1920 | gif | Convert gif to mp4 or mov Supports links via link stickers |
| LinkedIn – web viewing | 1920×1080 | mp4 | Convert gif to mp4 or mov Less than 15s for autoplay and looping Supports links |
| LinkedIn – Mobile viewing | 1080×1350 | mp4 | Convert gif to mp4 or mov Less than 15s for autoplay and looping Supports links |
| TikTok | 1080×1920 | mp4 or mov | Convert gif to mp4 or mov |
If you need to convert your gif to mp4 or other formats convertio is a good place (opens in a new tab / window)
You’ll find that link and the one to imgbb (opens in a new tab / window) in the help available in the pre-staging area.
If for some reason you need to shrink the pixel dimensions or the file size – maybe because you want to send it by email, ezgif (opens in a new tab / window) is a great place to use.
Using NiftyPVA / NiftyCPA for the first time
The first thing to do is to get the bookmarklets. If you’ve not come across bookmarklets before, have a quick look at the Wikipedia bookmarklet definition (opens in a new tab / window).
You get the NiftyPVA and NiftyCPA bookmarklets by visiting Nifty Product Views Animator directly. Go ahead and click that link (opens in a new tab / window) and you’ll be guided through the process.
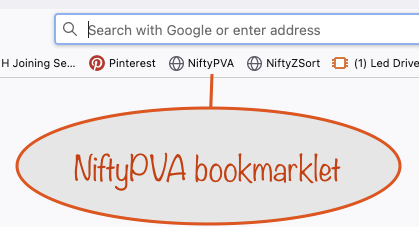
What you’ll do is drag and drop each bookmarklet link to your bookmarks toolbar. Here’s what it’ll look like when you’ve done the NiftyPVA bookmarklet:

Using your new NiftyPVA bookmarklet
Now that you’ve got your NiftyPVA bookmarklet, it’s time to use it to create your first animated gif. We’ll work through creating one for a product and its views but the process is identical for the NiftyCPA bookmarklet and a collection.
If you’d rather watch a video, here’s one:
Let’s say you’re going to share it on Pinterest as an ordinary Pin. From the table above you’ll see that the size of the background image you’ll need is 1000x1500px. Pinterest recommends this size to give the best experience for their pinners.
So get to your Zazzle store in a new tab / window and decide on a product you want to use for your animated gif. For this, we’re going to use a Zazzle mug, so find one you want to use and open up its product page.
When you’ve done that, click your NiftyPVA bookmarklet.
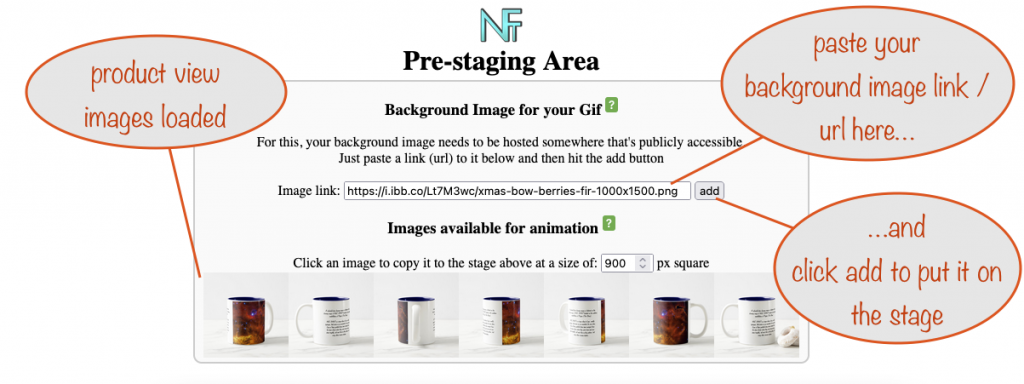
When you do, a new tab / window will open up with each product view image loaded into the pre-staging area.

(click to open at full size in a new tab / window)
If you don’t have a background image to use, here’s a link / url that you can use for a Christmas-themed background image:
https://i.ibb.co/Lt7M3wc/xmas-bow-berries-fir-1000×1500.png
It doesn’t have any text but will do for your first have-a-go. So copy the link / url and paste it into the box.
Adding your product view images to the stage
With your background image on the stage, you’re now ready to add the product view images that you want to use in your animation.
To add one, just click it. It’ll fade out and in again to let you know it’s been added.
But first, decide on the order they’re to appear in the animation and add them to the stage in that order.
Stick with the default image size of 100px for every one except the last which, in this case, you’ll add at a size of 900px (or you could use a size of 1000px for it if you don’t want a margin between your animation and the background image).
Why? It’s because they’ll all end up being the same size as it, once you set it as the one whose size and position is to be used. You can think of it as being the “master”, if you like.
Tip: if you want one image to appear for longer, add it more than once in a row. When it’s being animated, each will be displayed but you won’t see the changeover. To the eye, it’ll look just like it’s been displayed for longer.
Making the animation
Now that you’ve added the large one as a master, make sure it’s selected (blue border) and hit the button use the selected image in the edit gif animation settings pane.
When you do that the make animated gif button in the button pane on the left will become active. Hit that and wait for a short while. Once the animation is made, the window will automatically scroll down to the sharing section.
Note that when it’s finished being made, in Firefox it’ll auto-download to your computer. Other browsers might need you to confirm that’s what you want to happen
Pinning / sharing your animation
You can either pin on Pinterest or hit the show/hide button for sharing in other places.
For Zazzle, you get the option of indicating whether you’re a member of the Zazzle Promoter Program. If you check the box, you’ll get clean links. If not, you’ll get the chance to change the tracking code used.
That’s it! Enjoy 😎
Designing your background image
More and more, places like Pinterest are able to detect and “understand” text in images.
So, as well as designing a background image that is perfect for showcasing your product, you’ll want to include a call to action and a well-considered keyword or two on the image itself.
Don’t worry, you’ll have plenty of room. It’s because the product view images are square and, at the suggested size of 900px (to fit with the recommended background image size for Pinterest), you’ll have 800px width and 400px height to play with, allowing for a margin.
Other social media have similar recommended sizes, so you’re good there, too.
