Get marketing assets for your auto sales business

Maybe it’s time for you to refresh your brand or maybe you never really bothered beyond some generic business cards and a sign above the door?

This article will give you the chance to think about what the right marketing collateral could do for your auto sales business.

Auto Sales Event Invite - faux metal, auto logo (Front)
Auto Sales Event Invite – faux metal, auto logo
by HightonRidley

A metallic style invitation postcard for your auto sales event. The design uses shiny faux metallic elements and a sports / muscle / luxury auto logo

Beyond business cards there’s a vast range of everyday things that can take your brand and slogan. This lets you reinforce your sales message to your potential customers at every turn.

There’s all sorts of items, some you may never even have thought of, that can be branded and are available here. For example:

  • Clocks
  • Washroom hand towels
  • Trinket trays
  • Car floor mats
  • Throw pillows
  • Zippo lighters

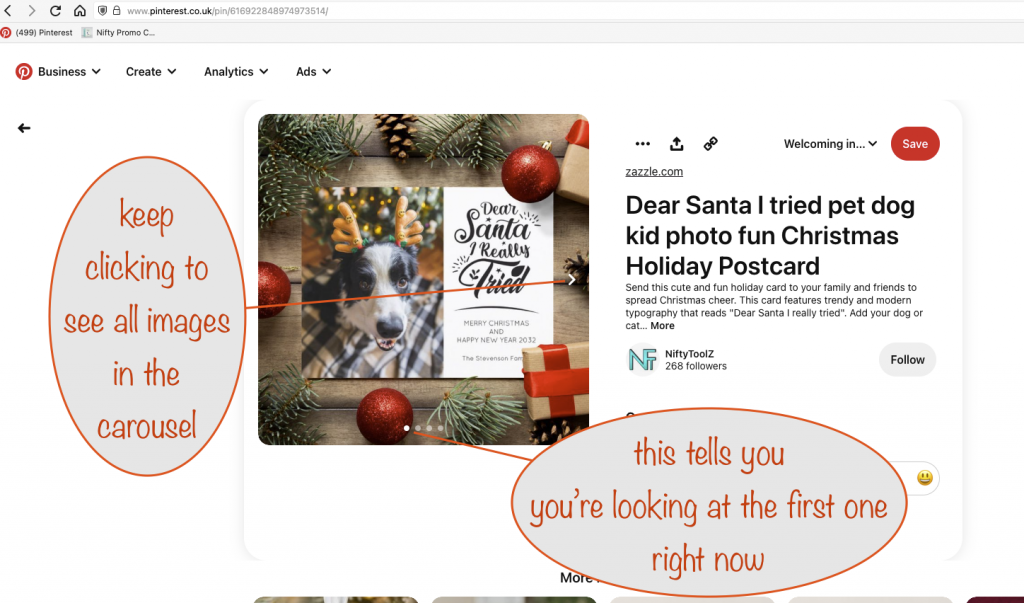
They’re all templates and that means you can make them your own just by typing. Page through the listing below and click one you like to see it in action:

<1 of 20+>
<1 of 20+>
Search for:
How many to get (max 120):


If you don’t already have a slogan / tagline – or your existing one needs a rethink, here’s some helpful tips on making one that will work to get you more business:

  • maybe start with a list of words related to what you do
  • think of words that sum up what you’re all about
  • keep it short and simple – 15 words or more is getting to be too many, 10 or less can be great
  • use language your target customers are familiar with
  • include what makes you different from your competitiors
  • they read it, it gives them a picture in their mind of your service and who / what you are – make sure it’s the one you want!

When you think you’ve got it, try it out on one of the template products listed above and see it in place with a logo.

Run it past friends & family and maybe mull it over for a day or two to see if it needs fine tuning. Then come back here and agin try it out on a bunch of the template products listed above.
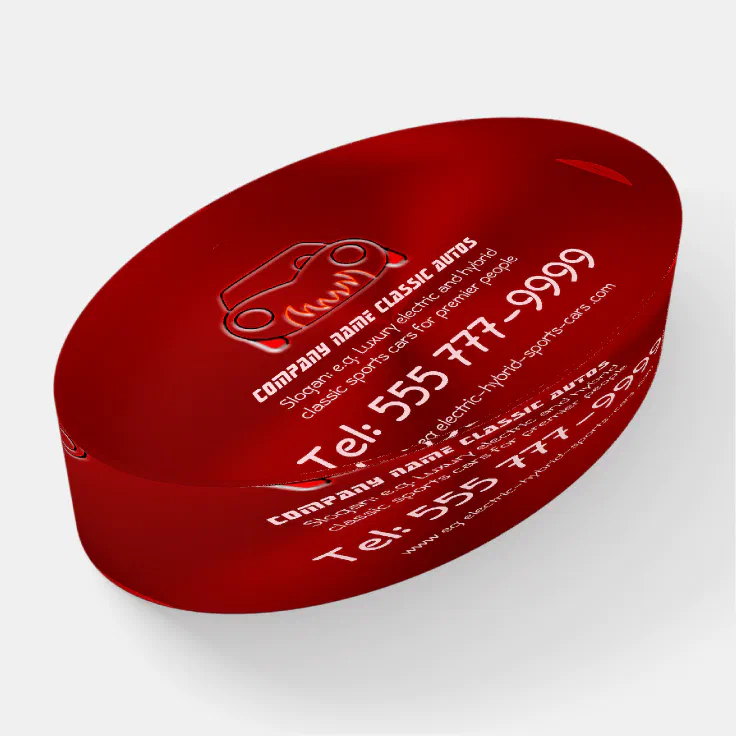
Classic Red Sports Auto on Crimson Metallic-look Paperweight (Angled)
Classic Red Sports Auto on Crimson Metallic-look Paperweight
by HightonRidley

A great business paper weight for the Classic Sports Auto Sales trade. With a rich, crimson, metallic-look background, it’s a total luxury sportscar logo following classic lines

Show how easy Zazzle product personalisation is on your Pinterest Carousel Pins

Find out how to include a personalization screenshot in your Pinterest carousel pins.

an example screenshot to include in your Pinterest Carousel pin

Why use Carousel Pins?

You’ll get far more exposure using Carousel pins on Pinterest because Pinterest likes them so much more than ordinary pins. That means it makes sense for you to use them whenever possible, time permitting. With their ability to include up to five images, you get the opportunity to use great in-situ pictures to show off great product designs.

If you want to speed up the whole process of making carousel pins of Zazzle products, see how to quickly get all product views in this tutorial (opens in a new tab / window)

Here’s a link to the Pinterest Carousel Pin I made using the above screenshot (opens in a new tab / window)

Why include a personalisation screenshot?

There are far more people who have never heard of Zazzle than the other way around. When they see a product they like, they might be put off by thinking that it’s too hard or a lot of work to personalise it.

If you use one of your carousel images to set their mind at rest, you’ll remove that obstacle to selling and increase your chance of a sale.

Luckily you can use a carousel pin to show just how easy it is to personalize the featured product with the template texts / images the designer’s used.

How to get a personalisation screenshot at the pixel dimensions that Pinterest likes?

Pinterest prefers large pixel sizes for images, with a minimum of around 1000px wide. Read on to find out how to get a screenshot of the relevant part of your browser’s contents at around that size.

What you need to do is to use your browser’s Zoom facility to first enlarge what the browser shows.

You do need to use Firefox for this because, at the time of writing, Chrome and Chromium-based browsers (think Edge, Vivaldi, Brave, Opera and others) all cut off a chunk of the right hand side of browser screenshots when zoomed in.

Get to the product page, open up the Personalize pane and then zoom in. The keyboard shortcuts for this are

  • Windows: <ctrl>+
  • Mac: <command>+

Zoom in a few times to make things really big. When you’ve done that, right-click a blank area of the browser window:

a screenshot showing how to use the right-click menu to let you take a screenshot of the browser's contents
using right-click to select “Take Screenshot”

Next, choose “take Screeshot”. If you prefer, you can use a keyboard shortcut to take the screenshot without right-clicking first:

  • Windows: <ctrl><shift>S
  • Mac: <command><shift>S

Whichever way you go about it, you’ll be given the option to save the full page or just the visible part; choose “Save full page”:

a screenshot showing the options to either "Save full page" or "Save visible"
choosing “Save full page”

Behind the scenes, Firefox prepares a file containing a screenshot of the whole web page. After a while you’ll be given a download button to click:

a screesnhot of Firefox's dialog to download the full web page screenshot you just took
telling Firefox to download the full web page screenshot you just took

Then just crop the image to the right size in your favorite image editing program. I use Preview on my Mac where I also add the speech bubbles.

Depending on the number of template texts / images, you might have to crop to an aspect ratio that’s not quite what you want. Never mind if that happens as you can adjust things when you’ve added it to your carousel pin.

Here’s the carousel pin I created with the above (opens in a new tab / window)

It’s not nearly as obvious as it should be that it’s a carousel pin because of the way that Pinterest displays them. It’s easy to confuse carousel pins with ordinary ones if you give them a quick glance.

The way to tell is to look for the forward-facing white arrow overlaid on the right-hand side. There’s also be a number of dots overlaid on the bottom indicating how many images are included in your carousel pin.

a screenshot of a carousel pin showing the arrow symbol to move to the next carousel image

I put my personalization screenshots as the last carousel image presently but I might be tempted to try them as the second or third image in future.

We’d love to hear your comments or suggestions to improve carousel pins – you know what to do 💐

Scaled-up Solar Tracker – proof of concept part 2

see part 1 :: see part 3

Pole top mount design

I’ve completed the design of the mount for the pole top and have asked a local supplier to make the parts for me out of stainless steel.

As you can see from the sketches, the design of the pole top mount allows the solar panel frame to be pointed further up or down, depending on the time of year.

Continuing the build…

Here’s the starting point for part 2 of the build

photo showing the starting point for part 2 of the design and build
starting point for part 2 of the design and build

The parts I was waiting for arrived:

  • the stainless steel pole
  • the lifter bearing – the short length of bar with the recess for the ball bearings that the lifting eyelets attach to
  • the 1:810 reduction ratio gearbox

The installation went smoothly – I used grease to hold the ball bearings in place while putting the lifter bearing in place.

I’ve now realised there’s a slight issue there as regards portability. It’s because the only thing stopping the bearings falling out (apart from the grease) is the bottom of the pole resting on them. And if the pole is to be removed for easy portability, the grease will cause some of the bearings to stick to the bottom of the pole. Hmmm….

Ok, onwards…

I coupled the 100rpm N20 motor to the gearbox and gave it a test. All went well and it was satisfying to watch the steel pole go up and down, twisting back and forth as it did so. It did take 6 mins or so for one complete cycle but that’s needed to get the required torque.

The next step was to try it out, building up to a weight equivalent to the final build and see how well everything coped. So I filled a 6 pint milk container with water and attached it to the pole as the first step.

I switched on power and, as it took the strain, the gearbox started to grind and stutter and then locked solid. Oh dear…

I removed and stripped down the gearbox and found the reason – a few teeth on some of the gears had broken off.

photo showing stripped teeth and damaged gears in the speed reduction gearbox
damaged speed reduction gearbox

So it turns out that the speed reduction gearbox I chose simply can’t cope with the required torque – it couldn’t even cope with around a quarter of the required torque 🤪

I’ve spent a good few hours online trying to find an alternative. I’ve fired off a few emails to suppliers of those that look likely, so we’ll see.

A reminder of the mechanism’s core requirements

The motor has to be driven by a single lithium ion battery, down to 3.7v

RequirementReasoning
The motor has to be driven by a single 18650 lithium ion battery, down to 3.7vThe readily available TP4056 charging module can, with a small mod, detect darkness and then switch the motor on until everything is reset to the sunrise position
Absolute minimum of 2 120W solar panelsIdeally this would be 4 solar panels, giving an additional weight of 7.2kg, but 2 would do.
Torque needed at a minimum is around 3.5Nm (torque calculator)
The total weight of pole, frame, top pole mount and 2 solar panels is approximately 15kg, and the lifting force is applied at a distance of 45mm from the gearbox shaft.

If I can’t get a gearbox capable of handling the required torque, I’ll need to rethink a lot of the above. Fingers crossed! 😜

Where is Moji? A fun early-learners’ game app for iOS and Macs

I’m on a roll! After developing the More or Less app, it was easy for me to develop this new one.

Who is this game for?

I’ve aimed “Where is Moji?” squarely at early learners / younger pre-schoolers. It teaches them a critical skill: to recognise and then find one pattern hidden amongst a screenful of others.

To make it fun, I’ve chosen the emoji used in the game from

  • sports
  • animals and nature
  • transport
  • everyday objects

Dad and / or Mum can sit in and help them learn the names of the animals when they come up. Lots of learning opportunities are there to use.

For even more fun, when they find Moji, they’re rewarded with a funny cartoon sound and a visual reward of a fountain of coloured circles, cascading down the screen.

I’ve designed it so that the early runs and levels have fewer emojis, with the number increasing as the game progresses. If you’re feeling adventurous, you can try the setting for a big kids game, which has far more emojis and a faster bonus multiplier countdown,

The easy and hard modes I’ve included for both the Kids game and the Big Kids game means there’s always a challenge. What’s the difference? The hard mode has more emojis and a faster countdown so even if you have a great reaction time, you’ll struggle to hit the top scores.

Get yours…

Download “Where is Moji?” here:

See screenshots of the game and a demo video

When you start each run, the screen shows you the emoji you’re to find.

When you’re ready, tap “Go” and the level begins. Note that the emoji you’re to find is repeated just above the “Go” button in case, in the excitement of it all, you forget what you’re to find!

Kids Game: The emoji they’re to find is also shown in the scores panel

Take a look at this screenshot of the last level of the Kids Game (on the easy setting). It shows how the number of emojis has increased:

Kids Game: Run 4, Level 5

If you like, watch this video of a complete game being played on an iPad. It goes all the way up to getting on the high score table – with the cheer you hear when you do! (I’ve included a different high score table for BigKids, to keep them seperate.)

A complete Kids Game (on the easy setting) being played on iPad

Thinking about building an iOS app for Zazzle

We’re not quite sure what we can achieve via an iOS app and Zazzle so we’ve been digging around and having a play.

As part of that we developed a simple and fun app for iPhones and iPads aimed squarely at kids (big kids, too!)

It’s called More or Less Kid’s Game and teaches older preschoolers about the notion of more and less in a fun and exciting way.

Here’s a screenshot showing the core in action. In the previous screen to this one, the player was shown one of two emoji.

In this case (though you can’t tell) they were shown a flamingo. Now they have to decide whether there are more or less flamingoes than rhinos by pressing the More or the Less button. (Yes, we know it really ought to be more or fewer but we’re practicing being less pedantic!)

a screenshot of the main gameplay area of the More Or Less iOS app
A screen from our More or Less iOS app

If they don’t make up their mind quickly enough, after a short while the bonus multiplier starts to count down and the potential score for a right answer reduces.

If they choose correctly, they get a positive, funny cartoon sound and a visual celebration as a reward. The run score they get (the bonus multiplier X number of images) is then added to the total score for the level.

If not, they still get a funny cartoon sound – but no visual celebration and no score.

There are 5 levels and 4 runs per level.

If they play with Dad or Mum at their side, they can get help counting the emoji to find out whether there are more or less.

We’ve made it so that the earlier levels have fewer images with bigger differences between the numbers of each. As the game progresses, each level has more images and smaller differences between the numbers of each emoji shown.

Get More or Less here on the app store.